Once you have created a new template you may want to set up some backend workflows to your solution. This guide will walk you through the process of configuring various workflows to enhance the functionality of your solution.
Backend workflows in Fuzen’s no-code app builder platform refer to automated sequences of tasks that are executed on the server-side of your application. These workflows can perform a variety of actions, such as sending emails, generating text, or triggering notifications, without requiring manual intervention.
Accessing Backend Workflows
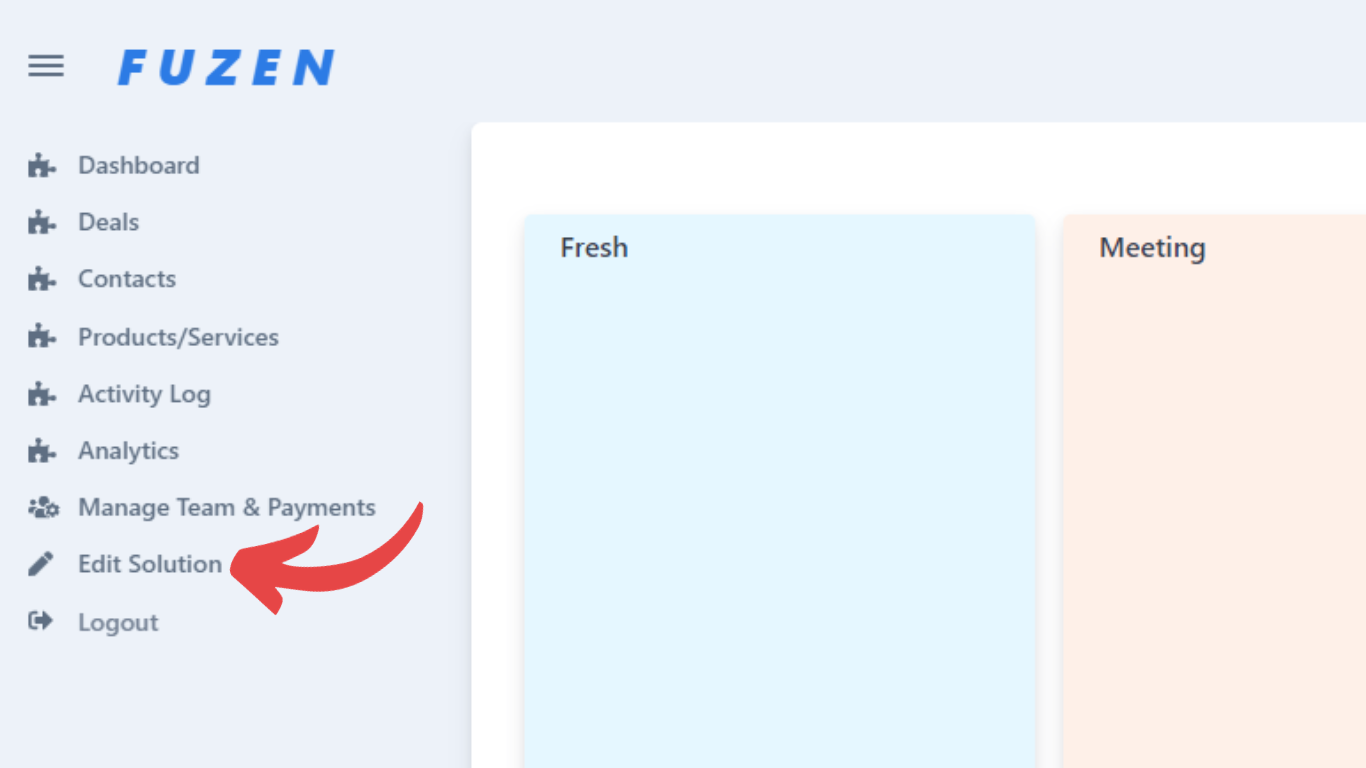
The backend workflows can easily be accessed from the Edit Solution page.
For this first, log in to your Fuzen account and select the desired app from your dashboard.
Click on the "Edit Solution" option located in the app management menu.
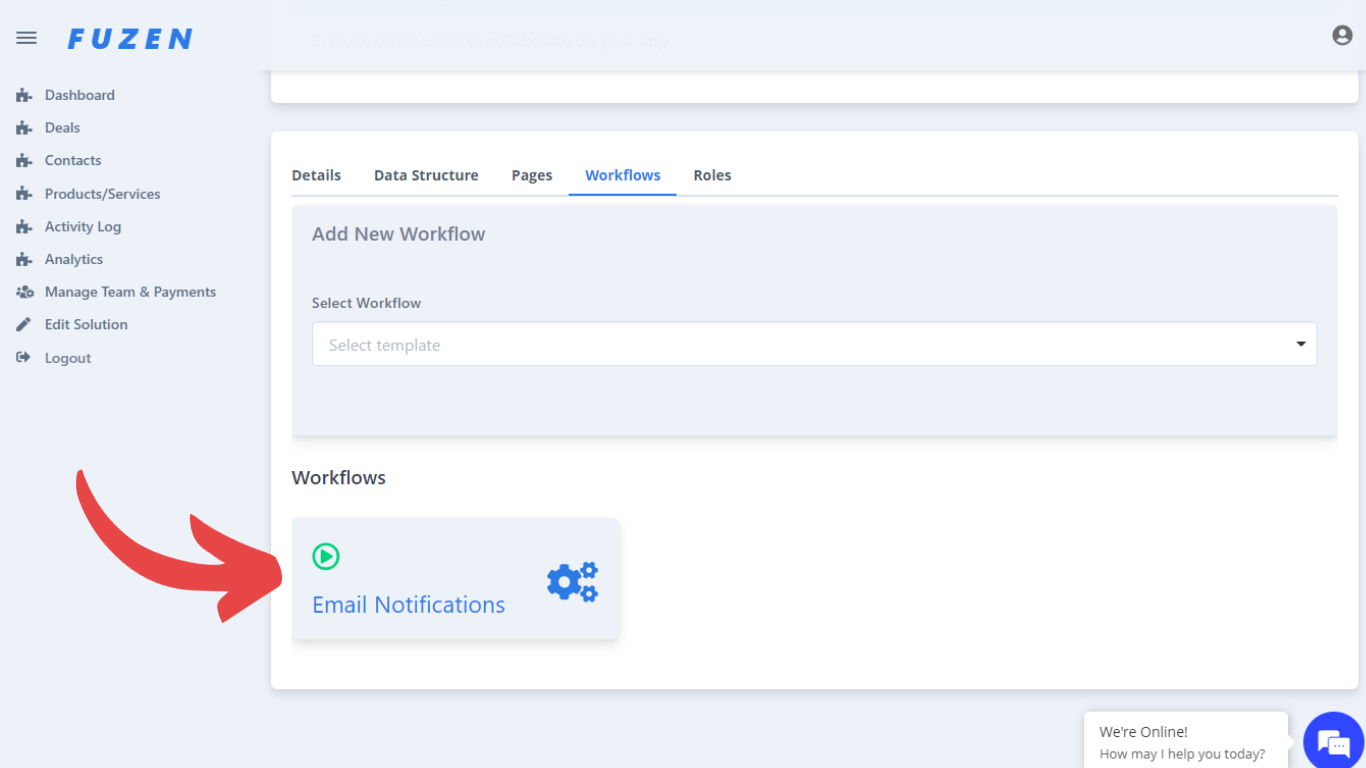
Within the "Edit Solution" page, locate and click on the "Workflows" tab.
Types of Workflows
Fuzen offers a variety of workflows to automate tasks and enhance your application's capabilities. These include:
- AI Generated Text
- Email Notification
- SMS Notification
- SendGrid Email Notification
- And more…
Setting up Backend Workflows
To set up any specific workflow, select the workflow you want to use from the dropdown menu.
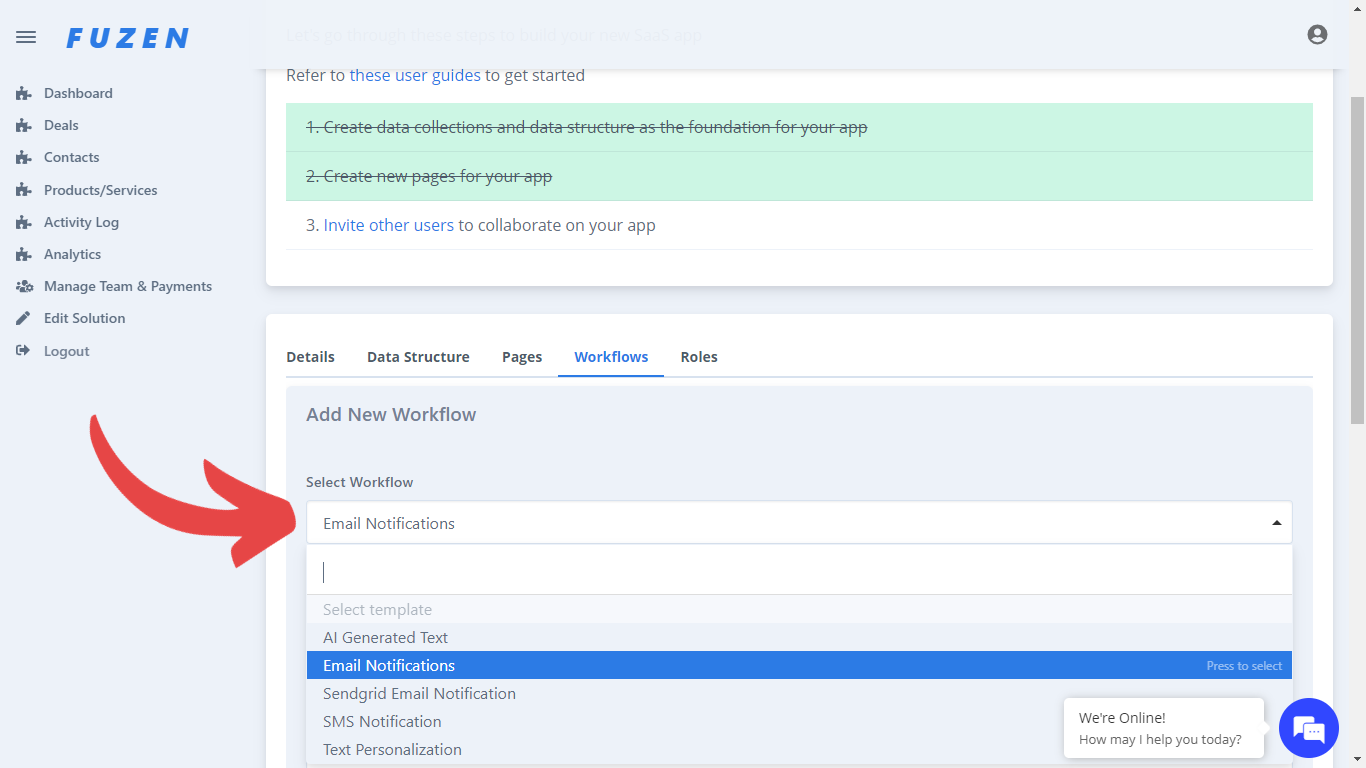
In this guide, we will demonstrate how to set up an Email Notification Workflow.
In our example of CRM, we may want to send daily reminder via email to our team member about their upcoming and pending tasks. This can easily be done by setting up email notification workflow.
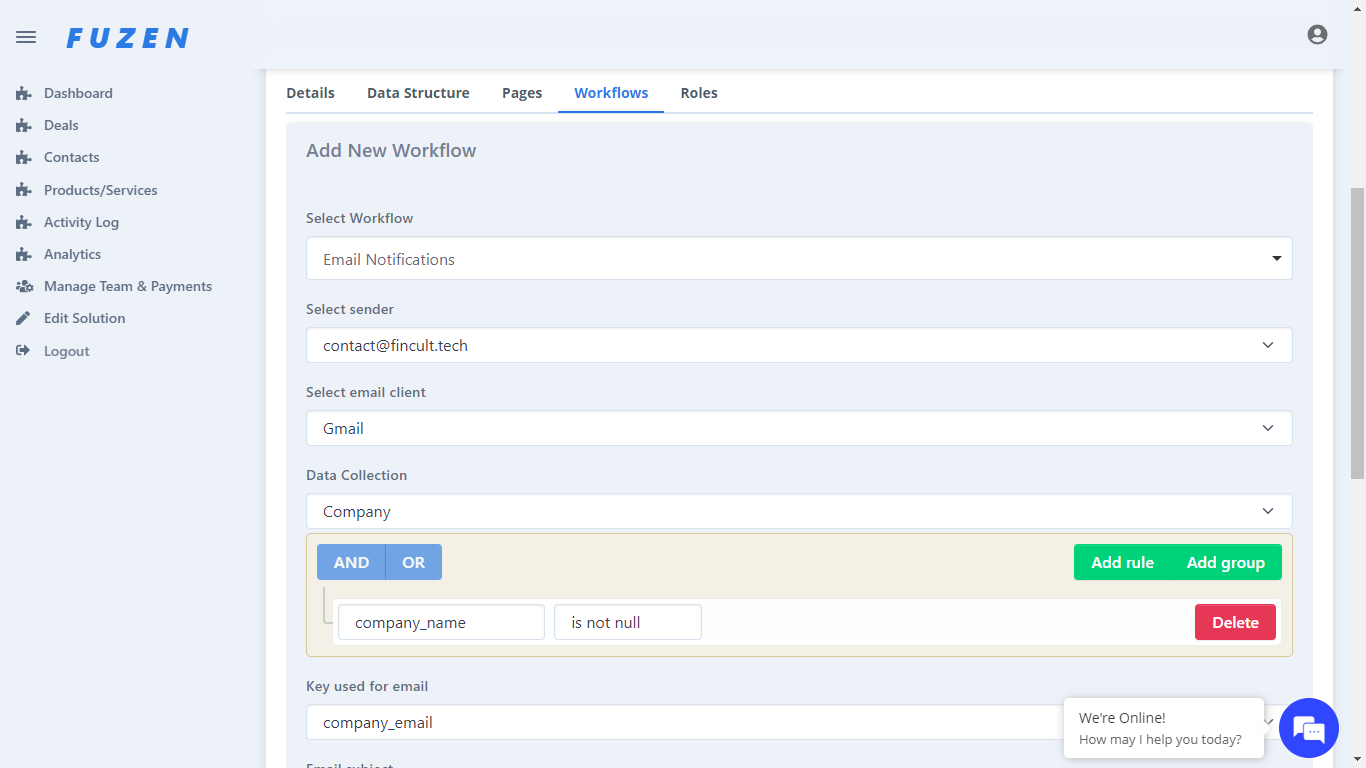
For this, select the Email Notification Workflow from the dropdown.
A form containing all the required fields will open.
Fill in the necessary information to configure the Email Notification Workflow:
Select Sender: Select the email id which should be used to send notification email.
Select email client: Select the email client of your id. It can be either Google, Outlook or SMTP.
Data Collection: Select the required data collection.
Key used for email: Select the key used to collect the email.
Email subject: Provide a subject line for the email.
Email content: Enter the email content for the notification.
Sender name: Provide a sender name.
Keys to update after sending email: Select the key which will be updated after the email is sent.
Once all the required information is entered, click on the “Add Workflow” button.
Your workflow is now ready!